Difference between revisions of "Notifications"
(Created page with "==Overview== File:Notifications Home.png WHMCS integrates with popular team communication apps including Slack and HipChat/Stride to allow you to be notified in real-tim...") |
(No difference)
|
Revision as of 09:48, 19 October 2017
Contents
Overview
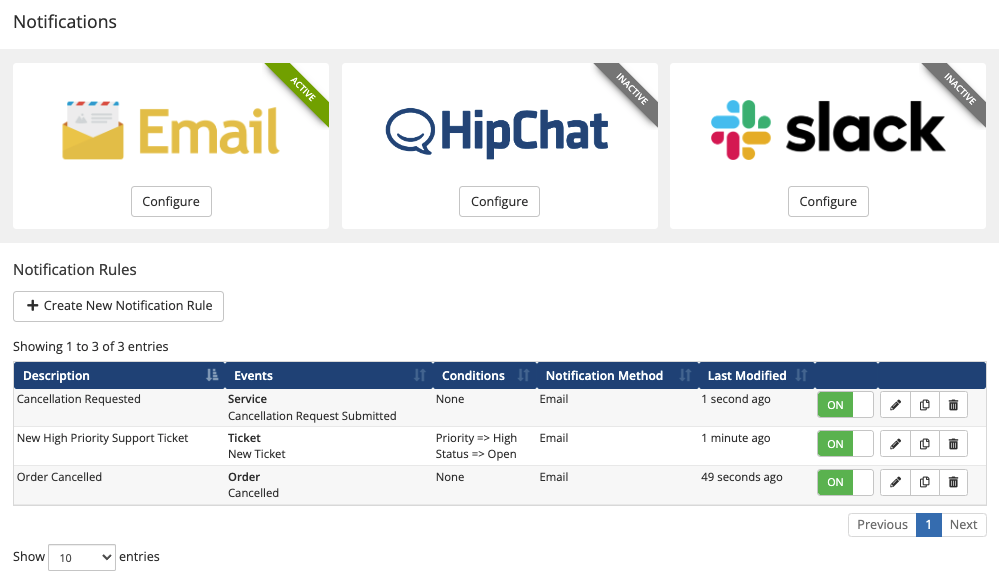
WHMCS integrates with popular team communication apps including Slack and HipChat/Stride to allow you to be notified in real-time as events occur within WHMCS.
Using conditions, you can setup WHMCS to notify you in your Slack channels and HipChat rooms about the events that are important to you. Here are some examples.
- Notify my Support channel/room when a new ticket is opened in the Support department with a High priority
- Notify my Enterprise Support channel/room when a new ticket is opened or replied to by a customer belonging to the Enterprise Customers client group
- Notify my Emergency channel/room when a new ticket is opened containing the words "Emergency" in the subject
- Notify my Sales channel/room when a new order is placed with a value over $25
- Notify my Billing channel/room when an invoice is paid by a customer belonging to the High Value client group
- Notify my Customer Service channel/room when an order is placed for the product Business Hosting
Configuring Notification Providers
At the time of writing, WHMCS supports the following notification providers out of the box. Select one to learn more and for information on how to configure it.
You can add additional notification providers by creating a custom notification module. You can learn more about that here: https://developers.whmcs.com/notification-providers/
Creating a Notification Rule
Notifications are based around rules.
Each rule defines when a notification should be triggered through a combination of events and conditions.
To create a new rule, follow the steps below.
1. Click the Create New Notification Rule button. 2. Enter a name/description for your rule that will allow you to easily identify it again later. 3. Choose an Event Category from the available selector buttons.
4. Choose one or more events that should trigger the notification within the selected event category. Use Ctrl+click to select multiple ones. 5. Configure any conditions you want to use to restrict when the notification is triggered. The conditions available to you will vary based on the selected event category.
By default all conditions default to unrestricted. To apply a condition to a rule, simply select or provide a value for a given condition. In the case of a free text based condition such as Subject, you are given the option of choosing from an Exact Match or Containing Match. In a monetary value condition such as Order Total, you have the option of specifying a Greater Than or Less Than match.
6. Configure the desired Notification Settings:
i. Begin by choosing the desired notification provider for this rule. Here we have chosen HipChat. ii. The other options here will depend upon the notification provider selected, but in the case of both HipChat and Slack, you will be asked to choose a Room/Channel for the notification to be posted to and be given the ability to override the default message with a custom one of your choosing. iii. In the case of HipChat, you also have the ability to select whether the notification should trigger an alert for the user. When selected, this can include playing a sound, a mobile notification, and more based on an individual users notification settings.
Modifying a Notification Rule
Duplicating a Notification Rule
Enabling/Disabling a Notification Rule
Deleting a Notification Rule
Hooks
Using hooks, it is possible to implement more complex conditional logic than is possible with the conditions available via the UI.
Documentation coming soon.
Adding a Custom Notification Provider
You can add additional notification providers that notification rules can use by creating a custom notification module. You can learn more about that here: https://developers.whmcs.com/notification-providers/


